Cheese is a delicacy that many people enjoy, whether it’s on top of a pizza or served on a charcuterie board. But have you ever considered making your own cheese at home? It may sound daunting, but cheese-making can be enjoyable and rewarding with the right knowledge and tools.
In this post, we will take you through the art of cheese-making step-by-step. You’ll learn about the necessary equipment and ingredients for cheesemaking and the science behind how milk turns into cheese.
We’ll walk you through different styles of cheese and give you tips for crafting fresh cheeses, semi-hard cheeses, and even hard cheeses like cheddar or parmesan. By the end of this guide, you’ll have all the knowledge you need to create your own delicious homemade cheeses that are perfect for sharing with friends and family or incorporating into your favorite recipes.
So let’s get started!

You’re about to learn everything you need to know about crafting delicious dairy creations from scratch. Making homemade cheese is a simple and rewarding process that starts with milk preparation.
The quality of the milk you use will directly impact the final product, so choosing high-quality, fresh milk is essential. Raw or pasteurized milk can be used, but make sure it hasn’t been ultra-pasteurized, as this process may affect the curdling of the cheese.
Once you have your milk, the first step in cheese-making is heating it to the appropriate temperature for coagulation. This temperature varies depending on the type of cheese you want to make and will be indicated in your recipe.
After heating, add a starter culture and rennet to cause the milk proteins to coagulate into curds and whey. The curd is then cut into small pieces and allowed to rest before being drained and shaped into molds.
The last step in making homemade cheese is aging. Aging allows for flavor development and texture changes through enzymatic reactions that take place during storage. How long you age your cheese depends on personal preference and the type of cheese made; some cheeses are aged for only a few days, while others can age for several months or even years!
Proper storage conditions are essential when aging cheese; keep it at an appropriate temperature with good air circulation.
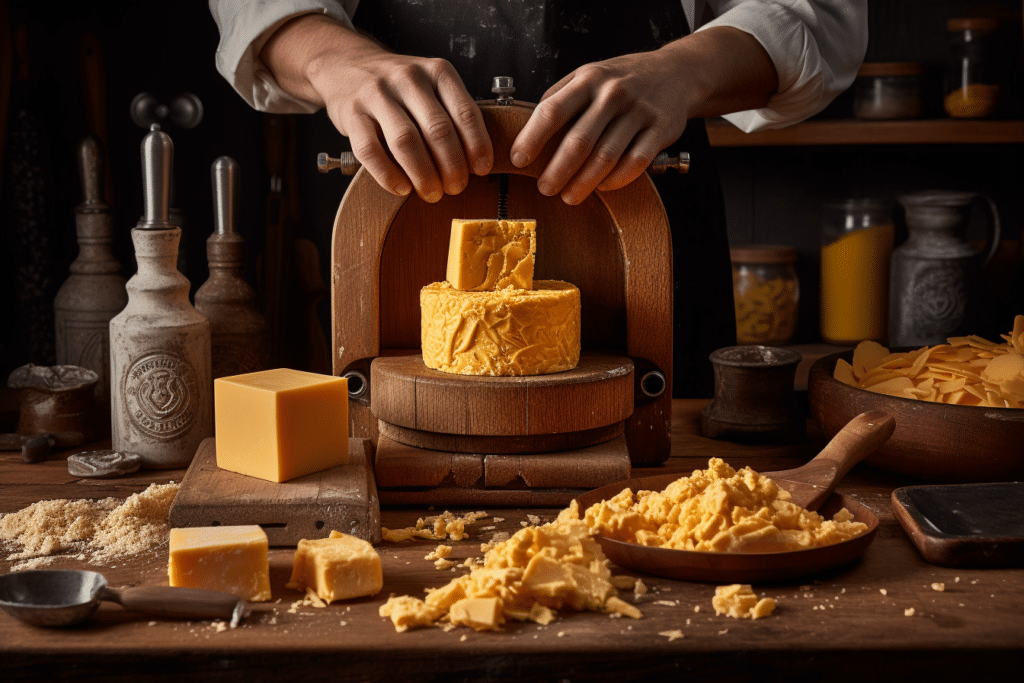
You’ll need a few essential tools and ingredients to create delectable and creamy dairy products in your kitchen. First on the list is a cheese press. This device is crucial for making hard cheeses like cheddar or gouda since it applies pressure to remove excess whey from the curds. You can choose between manual or electric presses depending on your preference and budget.

Next, milk-sourcing considerations are important when making cheese. The quality of milk used will affect the final product’s taste and texture. Consider using raw milk from a local farm for a more authentic flavor profile, but be sure to follow safety guidelines when handling raw milk. Alternatively, store-bought whole milk can be used as long as it hasn’t been ultra-pasteurized.

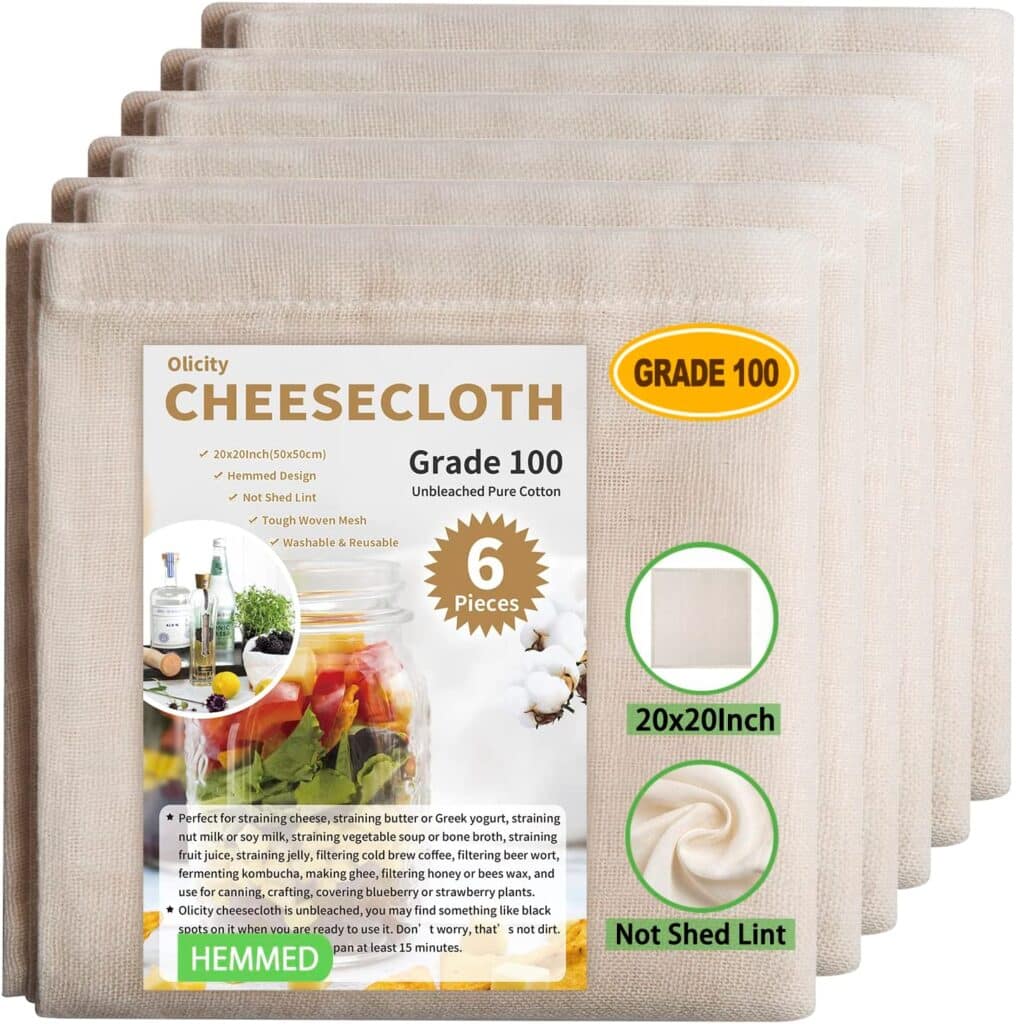
In addition to these key items, some other tools will come in handy during cheese making. A thermometer is essential for monitoring temperatures during pasteurization and curd formation. Cheesecloth or butter muslin is necessary for straining curds from whey before pressing. Lastly, molds shape soft cheeses like brie or camembert into their round shape.
Overall, with the right equipment and high-quality ingredients, such as fresh milk, you’ll be well on your way to crafting artisanal cheeses at home that rival those found in specialty shops! So take charge of your culinary freedom by diving into the art of cheese making today!

Get ready to be amazed by the science behind crafting your own creamy and irresistible dairy creations in the comfort of your own kitchen. Cheese making is a fascinating process that involves molecular reactions and curd formation. Knowing how these processes work can help you create perfect cheese every time.
Adding rennet to milk triggers a chain reaction that causes the milk proteins to coagulate or solidify into curds. The enzymes in rennet break down one of the main milk proteins, casein, into smaller pieces called peptides. These peptides then bind together to form clumps which eventually become curds. The whey, or liquid remaining after the curds have formed, contains lactose and other nutrients.
One important factor in cheese making is controlling the acidity level of your milk. The acid helps coagulate the milk proteins more efficiently and creates a firmer texture in the final product. Adding an acid like vinegar or lemon juice can also cause curd formation but may result in a different flavor profile.
The type of cheese you want to make will determine how long you let your curds sit before draining them off from the whey. Soft cheeses like ricotta only require a few minutes, while harder cheeses like cheddar need several hours or days for proper maturation. Understanding these scientific concepts will not only help improve your cheese-making skills but also deepen your appreciation for this delicious art form that has been enjoyed for centuries by people all around the world.

As you explore the various styles of delicious cheeses, your taste buds will be tantalized by the unique flavors, textures, and aromas each one offers. Understanding different cheese styles is essential if you want to create your own homemade cheeses or enjoy them better. Here are some key points to consider when exploring cheese styles:
When making your own homemade cheeses, understanding how these factors work together can help you achieve the desired outcome. Additionally, learning about different cheese styles can give you insight into what ingredients or techniques were used to make them.
Creating your own unique blend of flavors is part of what makes artisanal cheesemaking so appealing. By trying out different recipes, experimenting with aging times, or adding herbs or spices to the mix, you’ll discover new ways to tantalize your taste buds.

To create a successful batch of fresh cheese, it’s important to select high-quality ingredients and use proper techniques. One key factor in making fresh cheeses is curdling the milk with an acid like lemon juice or vinegar. This process separates the liquid whey from the solid curds, which can then be drained and seasoned according to your preference. The texture of your finished product will vary depending on how much whey you remove during this process.
There are many varieties of fresh cheese that you can make at home, including ricotta, queso blanco, paneer, and feta. Each type has its own distinct taste and texture that can be enhanced by adding herbs or spices during seasoning. In addition to these classic options, don’t be afraid to experiment with different combinations of milk types and flavors to create something truly unique.
Crafting fresh cheeses is a fun way to experiment with different flavors while enjoying the satisfaction of creating something delicious from scratch. By using high-quality ingredients and following proper techniques, you’ll be able to create a variety of tasty treats that are sure to impress your family and friends!

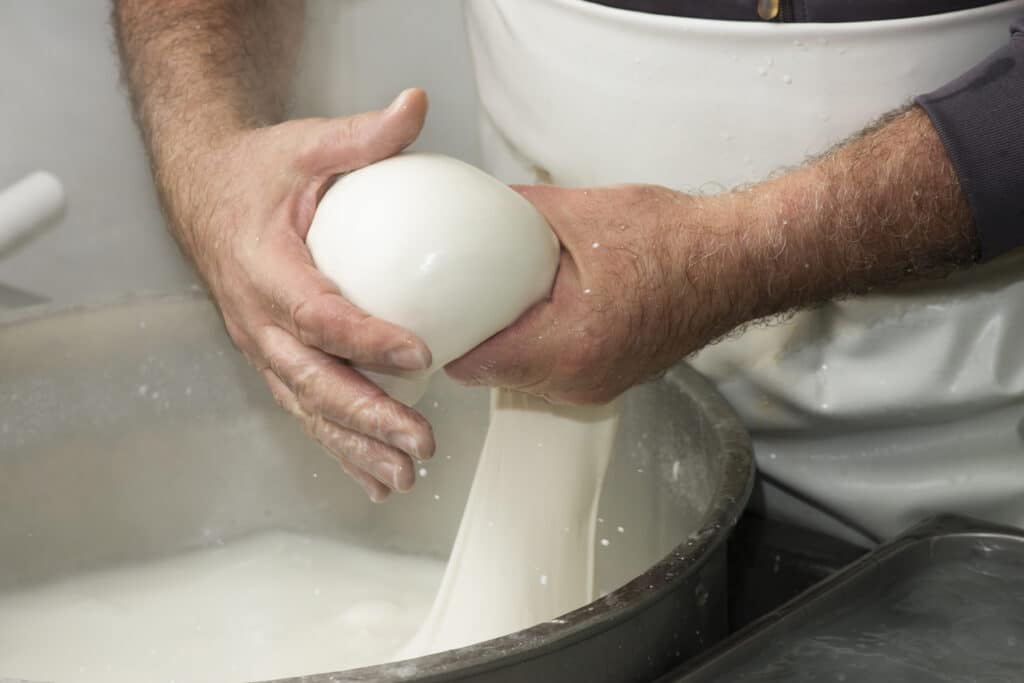
In the next section, we’ll explore how to create delectable soft cheeses that are perfect for spreading on crackers or adding to your favorite dishes. Soft cheeses are known for their creamy texture and bold flavors that can range from mild to tangy. There are many varieties of soft cheeses, including brie, camembert, mozzarella, and goat cheese.
Sure, here are examples of soft cheeses:
Making your own soft cheese at home is easier than you might think, and it allows you to experiment with different texture variations and flavor combinations. Here are three tips for making the perfect soft cheese:
Experimenting with different textures and flavors is part of what makes soft cheese-making so fun! You can add herbs like thyme or rosemary during the draining process for extra flavor. Try mixing in chopped nuts like pecans or almonds before shaping your cheese for added crunch.

You’re going to love learning how to create semi-hard cheeses, like cheddar or gouda, which are as satisfyingly firm and flavorful as a freshly baked loaf of bread. These cheeses require more time and effort than soft ones, but the result is worth it.
Here are some examples of semi-hard cheeses:
To start, you’ll need to use a cheese press to mold your curds into the desired shape. This will help remove excess whey and give your cheese its signature texture.
As with all cheeses, aging is crucial for creating unique and complex flavor profiles. Semi-hard cheeses typically age for several months before they’re ready to be enjoyed. During this time, the cheese will develop its distinct taste and aroma through a combination of bacterial cultures and enzymatic reactions. You’ll want to keep an eye on your cheese during this process by regularly monitoring its temperature and humidity levels.
One important thing to keep in mind when making semi-hard cheeses is that, like soft cheese, different types of milk can produce different results. For example, cow’s milk tends to produce milder flavors, while goat’s milk can result in tangier notes. Factors such as temperature and acidity can also impact the final product. Experimenting with different techniques and ingredients can create unique creations that reflect your tastes.

Get ready to take your cheese-making skills to the next level with hard cheeses. Crafting a hard cheese will be a new challenge if you’ve already created semi-hard cheeses.
Here are examples of hard cheeses:
Hard cheeses require more time and effort, but the end result is worth it. Here are five things to keep in mind when making your own hard cheese:
One of the most exciting aspects of making hard cheeses is experimenting with different flavors during aging. While some traditional favorites like cheddar or Parmesan have well-established flavor profiles, there’s still plenty of room for creativity. Try adding herbs like thyme or rosemary into the mix before pressing or rubbing down your finished product with spices like smoked paprika or chili flakes.
Crafting hard cheeses may require more patience than other types of homemade cheese, but it’s worth it once you get that deliciously firm and flavorful addition to any plate! Remember that when it comes to aging your cheese, longer equals stronger flavors, so don’t be afraid to let those wheels sit until they reach their peak potential.

Now it’s time to put those delicious creations to use and add a touch of homemade flavor to your favorite dishes. Cheese pairing is an art form that can take your meals from good to great with just the right combination of flavors. Whether you’re making a classic grilled cheese sandwich or experimenting with new recipes, there are endless possibilities when it comes to using your homemade cheeses.
One way to incorporate your homemade cheeses into your meals is through creative applications. For example, try adding some crumbled feta cheese on top of a Greek salad for added texture and tangy flavor. Or, use grated Parmesan cheese instead of breadcrumbs when breading chicken for a crispy and cheesy twist on a classic dish.
Another fun way to experiment with cheese pairing is by creating a charcuterie board featuring different types of homemade cheeses alongside cured meats, fruit, crackers, and nuts. This is a great option for entertaining guests or enjoying a night with loved ones.
As you continue exploring the world of cheese making, don’t be afraid to get creative in the kitchen! With so many delicious options at your fingertips, the possibilities are endless when it comes to using your homemade cheeses in recipes that will leave everyone asking for seconds.

If you’re hitting a snag while creating your cheesy masterpiece, don’t fret – this section’s got you covered with tips and tricks to troubleshoot any issues that may arise, so you can get back to making mouthwatering treats in no time.
One of the most common mistakes when making cheese is not paying attention to temperature control. Having the right temperature during each step of the process is crucial for perfecting texture. Check your recipe for specific temperatures, and make sure to use a thermometer.
Another mistake is using low-quality milk or rennet. The quality of your ingredients will directly affect the outcome of your cheese. If your cheese isn’t set properly, it could be due to expired or weak rennet.
Once you’ve identified what went wrong and corrected it, there are still ways to perfect the texture of your cheese. For example, if your cheese is too crumbly, try kneading it more before pressing it into molds. On the other hand, if your cheese is too soft or mushy, press it longer or add more weight during pressing.
When it comes to storing homemade cheese, the fridge life will depend on the type of cheese you’ve made. Soft cheeses like ricotta or cream cheese should be consumed within a week, while harder cheeses like cheddar or gouda can last up to six months when stored properly.
To ensure your cheese stays fresh for as long as possible, wrap it tightly in plastic wrap or wax paper and store it in an airtight container. Additionally, make sure your fridge is set at the proper temperature (between 34-40 degrees Fahrenheit), and avoid storing your cheese near foods with strong odors.
Are you looking for cheese alternatives that don’t require rennet? Good news! There are plenty of vegetarian cheese options available. From cashew-based cheese to tofu-based cheese, the possibilities are endless.
Making your own non-rennet cheese at home is also an option. You can use an acid like lemon juice or vinegar to curdle the milk, then strain it to create a soft cheese similar to ricotta or cottage cheese. Or, try using cultures and enzymes found in kefir or yogurt to make a harder, more flavorful cheese.
When it comes to making cheese, the type of milk used can significantly impact the final flavor. Different milk varieties, such as cow, goat, or sheep, each have their own unique taste profiles that can influence the cheese’s overall flavor.
Additionally, aging plays a crucial role in developing the cheese’s taste. As cheese ages, enzymes break down proteins and fats in the milk, leading to richer and more complex flavors.
Are you ready to switch things up in your cheese-making game? Well, grab a glass of goat’s milk and dive into the differences between goat and cow milk in your cheese-making process.
While cow’s milk is the most popular choice for cheese-making, goat’s milk offers a unique flavor profile that can elevate any dish. The key difference lies in the composition of the milk – goat’s milk has smaller fat globules, making it easier to digest and giving it a tangy taste.
When it comes to recipes, goat’s milk cheese works best with soft cheeses like chèvre or feta due to its lower fat content. However, don’t let that limit you – experiment with different types of cheeses and see how they turn out!
Making cheese in a regular kitchen is possible with the right equipment and knowledge. You don’t need a separate cheese-making room.
Start by selecting high-quality milk and adding rennet to form curds. Then, strain the curds and press them into shapes before aging them to perfection.
It’s important to have accurate temperature control throughout the process and to use appropriate equipment such as a thermometer, cheesecloth, and molds.
With practice and patience, you can become an expert in creating unique cheeses that will impress your friends and family. Don’t be afraid to experiment with different flavors and techniques – the possibilities are endless!
Congratulations! You’ve mastered cheese making and are ready to impress your friends and family with your homemade creations.
As you savor the creamy texture and rich flavor of your fresh cheeses, take a moment to reflect on the science behind this ancient craft. As cheese-making requires patience, precision, and attention to detail, so does life demand these qualities from us.
With each step in the cheese-making process, we learn more about ourselves and our ability to create something delicious from humble ingredients. So whether you’re crafting a simple ricotta or a complex aged cheddar, remember that every batch is an opportunity for growth and discovery.
So go forth with confidence, armed with your new knowledge of curds, whey, and rennet. Experiment with different styles and flavors, adapting recipes to suit your tastes. And always remember that even if a batch doesn’t turn out quite right, there’s always another opportunity to try again.
Happy cheesemaking!

