Welcome to your ultimate guide on food preservation! Whether you’re an experienced home cook or just starting out, learning the secrets of food preservation is an essential skill that can save you time, money, and reduce food waste. With so many preservation methods available, it can be overwhelming to know where to start. But don’t worry, we’ve got you covered.
In this guide, we’ll explore the basics of food preservation and dive into specific methods like canning, freezing, drying, and fermenting. We’ll also provide tips on how to maximize the freshness and flavor of your produce and extend the shelf life of pantry staples. With our help, you’ll become a master of food preservation!
If you’re new to food preservation, it can be overwhelming to navigate the different methods and techniques available. However, understanding the basics is crucial to ensuring your food stays fresh and flavorful for as long as possible.
There are four main methods of food preservation: canning, freezing, drying, and fermenting. Each method has its own advantages and disadvantages, so it’s important to choose the one that fits your needs best.
| Method | Advantages | Disadvantages |
|---|---|---|
| Canning | Long shelf life, retains flavor and nutritional value | Requires specialized equipment, can be time-consuming |
| Freezing | Easy and quick, retains freshness and quality | Requires freezer space, some foods may become mushy when thawed |
| Drying | Lightweight and portable, long shelf life | Requires time and patience, may alter color and flavor |
| Fermenting | Increases shelf life and adds beneficial probiotics | Requires careful monitoring and can be messy |
Each method also requires specific equipment and techniques, which will be covered in more detail in the following sections of this guide.
It’s important to note that food preservation isn’t an exact science, and some trial and error may be necessary to find the best method for each type of food. However, with a little practice and patience, you’ll be able to successfully preserve your favorite foods for longer periods of time.
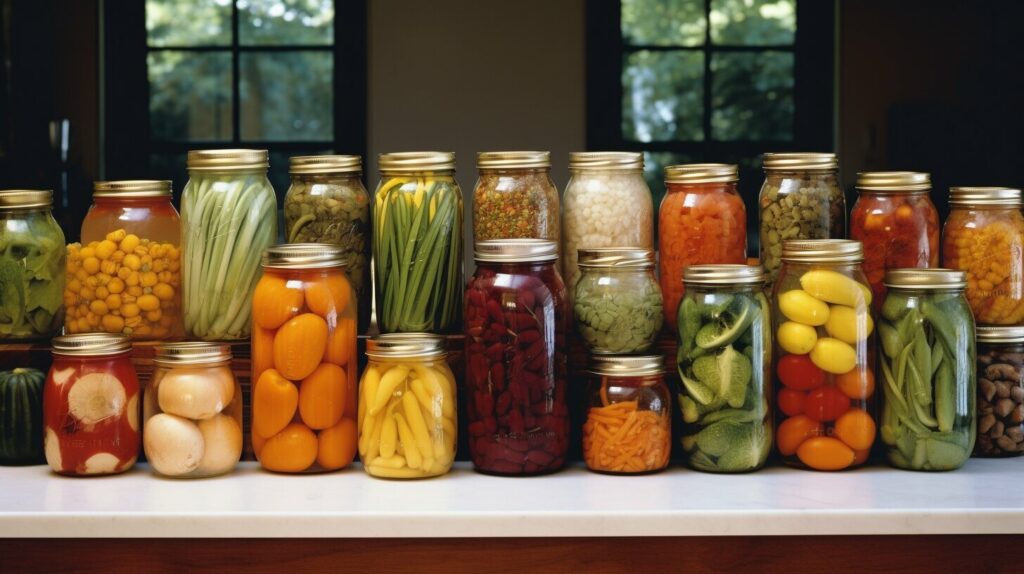
If you’re looking for a food preservation method that can keep your favorite flavors intact for months or even years, canning is your answer. This time-honored technique, developed in the late 18th century, is perfect for preserving fruits, vegetables, meats, and even entire meals.

To get started with canning, you’ll need a few essential tools, including mason jars, lids and bands, a canning pot, and a jar lifter. Once you have your equipment, select your ingredients and decide on your canning method: water bath or pressure canning.
Water bath canning is ideal for high-acid foods like pickles, tomatoes, and fruits, while pressure canning is best for low-acid foods like meats, soups, and beans.
| Steps for Water Bath Canning | Steps for Pressure Canning |
|---|---|
| 1. Prepare your canning jars and lids by washing them in hot, soapy water and sterilizing them in boiling water. | 1. Prepare your canning jars and lids by washing them in hot, soapy water and sterilizing them in boiling water. |
| 2. Fill your jars with prepared food, leaving the appropriate headspace for expansion during processing. | 2. Fill your jars with prepared food, leaving the appropriate headspace for expansion during processing. |
| 3. Pack your jars tightly, removing any air bubbles with a non-metallic spatula or chopstick. | 3. Pack your jars tightly, removing any air bubbles with a non-metallic spatula or chopstick. |
| 4. Wipe the rims of your jars with a clean towel and secure the lids and bands. | 4. Wipe the rims of your jars with a clean towel and secure the lids and bands. |
| 5. Submerge your jars in boiling water and process for the appropriate amount of time based on your recipe and altitude. | 5. Place your jars in a pressure canner with the recommended amount of water and process for the appropriate amount of time and pressure based on your recipe and altitude. |
| 6. Remove your jars from the water bath and let them cool for 12-24 hours before checking the seal and storing in a cool, dark place. | 6. Remove your jars from the pressure canner and let them cool for 12-24 hours before checking the seal and storing in a cool, dark place. |
It’s important to follow safe canning guidelines to prevent the growth of harmful bacteria and ensure your food stays fresh and delicious. Always use tested recipes from reputable sources and be sure to check your jars for proper seals before storage.
Pro tip: Want to give your canned goods as gifts or add a personal touch to your pantry? Consider labeling your jars with the date, ingredients, and a fun label or tag.
Canning is a valuable skill that can help you reduce food waste, save money, and enjoy your favorite flavors year-round. With the right equipment and a little practice, you’ll be preserving like a pro in no time!
Freezing is one of the most convenient and popular methods for food preservation. Whether you have leftovers, seasonal produce, or want to stock up on groceries, freezing can extend the shelf life of your food and save you time and money. Here are some tips to ensure that you freeze your food properly:
The type of packaging you choose can make a big difference in how well your food freezes. Use freezer-safe containers or bags that are specifically designed for freezing food. These types of packaging will help to prevent freezer burn and keep your food tasting fresh.
Tip: Be sure to label your containers or bags with the date and contents, so you can easily identify them later.
Before freezing your food, it’s important to prepare it properly to ensure that it maintains its quality. For fruits and vegetables, blanch them first to help preserve their flavor, texture, and nutrients. For meats, trim off excess fat and wrap them tightly to prevent freezer burn. For soups and stews, allow them to cool before freezing, and leave some space at the top of the container to allow for expansion.
Proper storage is crucial for successful freezing. Make sure your freezer is set to the correct temperature (0°F or below) to ensure that your food freezes quickly and stays frozen. Arrange your food in a single layer on a flat surface in the freezer until it’s fully frozen, and then stack containers or bags neatly to save space. Avoid over-packing your freezer, as this can restrict airflow and lead to uneven freezing.
Tip: If you’re freezing liquids, like soups or sauces, consider using a muffin tin to freeze individual portions. Once they’re frozen, you can transfer them to a freezer-safe container or bag for long-term storage.

By following these tips, you can ensure that your frozen food stays fresh and flavorful for months to come. With proper freezing techniques, you can enjoy your favorite foods all year round and reduce food waste in the process.
If you’re looking for a way to not only extend the shelf life of your food, but also boost its nutritional value, fermentation may be the answer. This method has been used for centuries, but it’s now gaining popularity due to its unique benefits.
Fermentation is a process where microorganisms, such as bacteria or yeast, break down sugars in food to create compounds like lactic acid and alcohol, which act as natural preservatives.
You can use fermentation to preserve a wide variety of foods, including vegetables, fruits, dairy, and even meats. Some popular fermented foods include kimchi, sauerkraut, pickles, yogurt, and kefir.
To get started, you’ll need a few key items:
Once you have your materials, follow these simple steps:
While there are countless foods you can ferment, some are more popular than others. Here are a few examples:
| Fermented Food | Features |
|---|---|
| Kimchi | A Korean dish made from fermented vegetables and spices, often used as a condiment |
| Kombucha | A sweetened tea that’s fermented with a symbiotic culture of bacteria and yeast (SCOBY) |
| Sauerkraut | A German dish made from fermented cabbage, often used as a side dish or condiment |
| Yogurt | A dairy product made from fermented milk that’s rich in probiotics |
When fermenting food, it’s important to take certain precautions to ensure it’s safe to eat. Here are some tips:
By following these guidelines, you can safely and effectively use fermentation to preserve your food and boost your health.

If you’re looking for a food preservation method that not only extends shelf life but also adds a variety of health benefits to your diet, fermentation is the way to go. Fermenting food is a traditional practice that has been around for centuries, and it’s still as popular today as it was in the past. In this section, we’ll explore the basics of fermentation, highlight popular fermented foods, and discuss various fermentation techniques.
Fermentation is a natural process that occurs when microorganisms, such as bacteria and yeast, break down sugars and carbohydrates in food, producing lactic acid, alcohol, and other compounds. This process not only preserves food but also creates beneficial probiotics, which can promote better gut health and boost immunity.
To start fermenting your own food, you’ll need a few basic tools, including a fermenting vessel, such as a mason jar or crock, and a starter culture, which can be obtained from a variety of sources, including whey, kefir, or purchased starter cultures. It’s also important to use non-chlorinated, filtered water and high-quality, organic produce for the best results.
Fermented foods come in many varieties, each with its unique flavor and health benefits. Some of the most popular fermented foods include:
By incorporating more fermented foods into your diet, you can improve your gut health, aid digestion, increase nutrient absorption, and boost your immune system.
There are many techniques you can use to ferment food, and the method you choose will depend on the type of food you’re fermenting and your personal preference. Some popular fermentation techniques include:
| Method | Description |
|---|---|
| Wild fermentation | This method relies on the natural bacteria and yeast present on the surface of fruits and vegetables to initiate fermentation. Simply chop or grate produce, add salt, and let it sit for a few days to ferment. |
| Lacto-fermentation | This method uses a starter culture, such as whey or purchased starter cultures, to introduce specific strains of bacteria to the food. This method is ideal for fermenting vegetables and dairy products. |
| Vinegar fermentation | This method involves adding vinegar to a food, such as cucumbers or garlic, and letting it ferment in a brine for a few weeks. The resulting pickled food is tangy and flavorful. |
Experimenting with different fermentation techniques can lead to unique and delicious flavors and provide a fun and exciting hobby for any home cook.
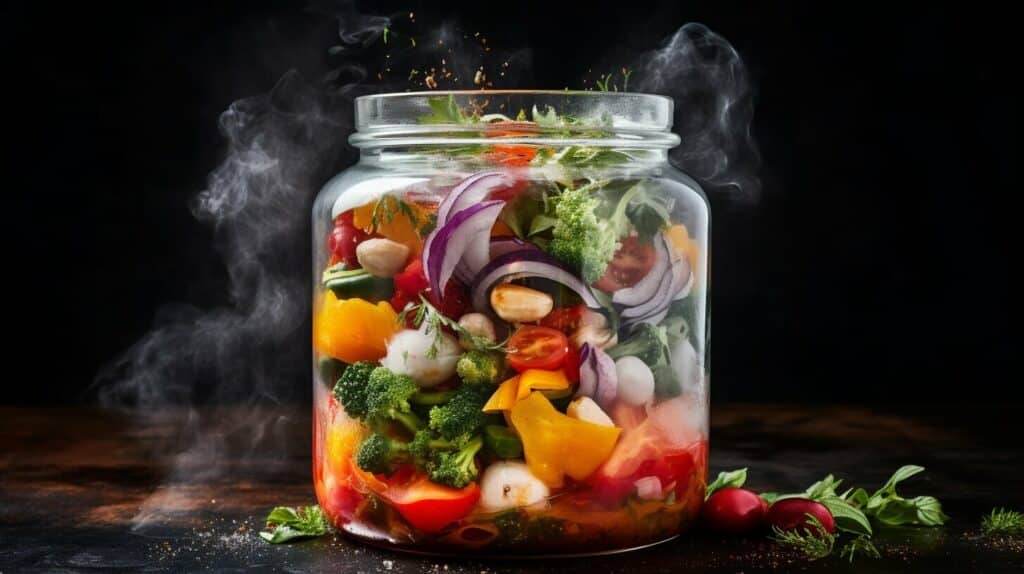
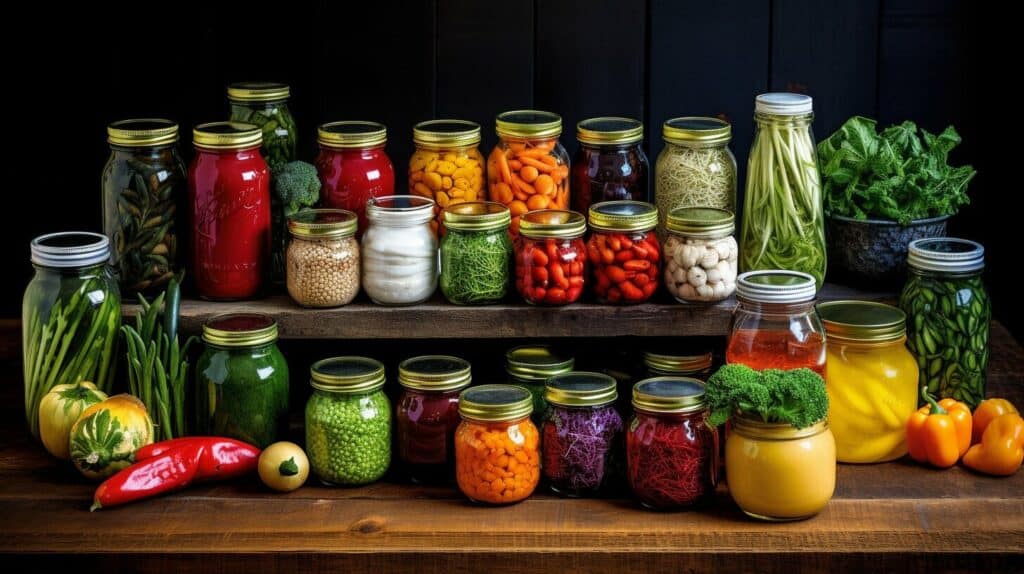
Image source: seowriting.ai
If you’re looking to make your produce last longer and taste better, there are several preservation techniques you can try. Here are some tips for preserving the freshness and flavor of your fruits and vegetables:
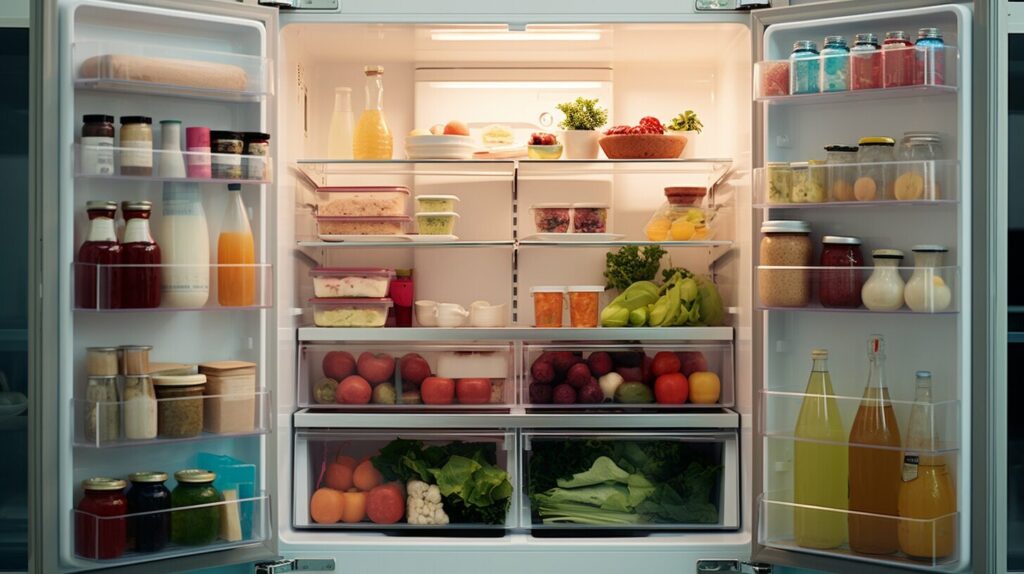
Proper storage is key to keeping produce fresh. Store fruits and vegetables in separate containers to prevent them from emitting gases that can cause spoilage. Keep produce that needs to be refrigerated in the fridge, and store items that don’t need refrigeration in a cool, dark place.
You can also use preservation techniques like canning, freezing, and drying to extend the shelf life of your produce. Canning is a great way to preserve fruits and vegetables, as well as make jams and pickles. Freezing is a good option for items like berries and green beans, while drying works well for herbs and fruits.
Using your produce in cooking can also help extend its shelf life. Try making soups, stews, and sauces with vegetables that are starting to wilt. You can also use overripe fruit in baking or smoothies.
Following these tips can help you reduce food waste and enjoy fresh, delicious produce for longer.
If you’re like most people, you probably have a well-stocked pantry full of staple ingredients like beans, grains, and spices. However, these items can quickly lose their freshness and flavor if not stored properly. To help extend the shelf life of your pantry staples, consider the following food preservation techniques:
Vacuum sealing is a great way to prevent air and moisture from getting to your pantry staples, which can cause them to spoil or lose their flavor. To vacuum seal your pantry items, you’ll need a vacuum sealer machine and special bags or canisters designed for the purpose. Simply place your items in the bag or canister, seal it with the vacuum sealer, and store it in a cool, dry place.
Oxygen absorbers are small packets that contain iron powder and are designed to absorb oxygen from the air. When placed in an airtight container with your pantry staples, oxygen absorbers can help prevent spoilage and extend the shelf life of your food. Be sure to follow the instructions carefully when using oxygen absorbers, as using too many can lead to the creation of a vacuum that can damage your containers.
Many pantry staples, such as grains and beans, can be stored for long periods of time if kept in a cool, dark place. Consider storing your pantry items in a pantry or closet that doesn’t receive direct sunlight or heat from appliances. You can also store your items in airtight containers to help prevent moisture and pests from getting to your food.
By using these food preservation techniques, you can extend the shelf life of your pantry staples and reduce food waste. Plus, you’ll always have fresh, flavorful ingredients on hand for all your favorite recipes.

If you’re looking to take your food preservation game to the next level, consider incorporating some modern techniques into your routine. These innovations can help you preserve food more efficiently and effectively, leading to less waste and more savings. Here are a few techniques to explore:
Vacuum sealers are a great investment for anyone looking to extend the shelf life of their food. By removing the air from around the food, vacuum-sealed packages can last up to five times longer than those stored in traditional packaging. This is because bacteria and other microorganisms need oxygen to grow and reproduce. With no air, their growth is greatly inhibited, reducing spoilage and waste.
To vacuum seal, simply place your food in a bag, insert the open end of the bag into the vacuum sealer, and let the machine do its work. The sealer will remove the air and seal the bag shut, leaving your food fresh and ready to store.
| Pros | Cons |
|---|---|
| Extends shelf life significantly | Requires investment in equipment |
| Helps reduce food waste | May not be suitable for all types of food |
Sous vide is a French cooking technique that involves cooking food in a vacuum-sealed bag in a water bath at a low, consistent temperature. This method is great for preserving the flavor and texture of meats, vegetables, and other foods, while also extending their shelf life.
To sous vide, start by vacuum sealing your food in a bag and placing it in a pot of water. Set the temperature using a sous vide machine, and let the food cook slowly in the water bath for several hours. The result is tender, juicy food that stays fresh much longer than traditionally cooked food.
| Pros | Cons |
|---|---|
| Preserves flavor and texture | Requires investment in equipment |
| Extends shelf life significantly | May not be suitable for all types of food |
Finally, consider investing in some smart storage solutions to make the most of your pantry and fridge space. Smart storage solutions can help you keep your food organized, visible, and fresh, reducing the risk of spoilage and waste.
Options include stackable fridge and pantry organizers, vacuum-sealed food storage containers, and produce savers that keep fruits and vegetables fresh for longer. By using these tools, you can make the most of your food and save money in the long run.
By incorporating modern techniques and technologies into your food preservation routine, you can extend the shelf life of your food, reduce waste, and save money in the long run. Consider investing in vacuum sealers, sous vide machines, or smart storage solutions to take your food preservation game to the next level.
Congratulations! You are now equipped with the knowledge and skills to unlock the secrets of food preservation. By learning various preservation methods, you can reduce food waste and ensure a sustainable food supply.
Remember the basics of food preservation, including canning, freezing, drying, and fermenting. Following proper techniques and safety precautions will help you preserve food flavors for longer, such as canning techniques, freezing tips, and drying and fermenting methods.
Don’t forget to maximize the freshness and flavor of your fruits and vegetables through proper handling and preservation techniques, and extend the shelf life of pantry staples like grains, beans, and spices with vacuum sealing, oxygen absorbers, and cool, dark storage.
As you continue your journey in the world of food preservation, consider exploring modern techniques and technologies like vacuum sealers, sous vide, and smart storage solutions. These innovations can enhance the preservation process and ensure even longer-lasting freshness and flavor for your preserved food.
Thank you for taking the time to learn about the art and science of food preservation. Your efforts can make a difference in reducing waste and promoting sustainability in your own kitchen and beyond.